A breath of fresh air: Your ultimate guide to spring cleaning your home
Spring is finally here. And with it comes the perfect excuse to give your home a fresh start. Because how are you going to let the sunshine in if all those ‘I’ll-get-to-it-later’ items are blocking your windows? It’s time to click the reset button – not just for your space but also for your mind. Below, we share our 11-step guide to tackling your spring clean with ease – and having fun while doing it!
Step 1: Make it a family affair
Remember: your spring clean does not have to be a solo job. Quite the contrary, in fact! It’s one in, all in.
So get the whole family together and hype them up for the challenge.
Why not also add some healthy competition to the mix by putting something on the line for whoever creates the most sparkling space?
And don’t forget: a great clean needs a great playlist!

Step 2: Tackle one room at a time
You’ve heard all the cliches before. Rome wasn’t built in a day. It’s a marathon, not a sprint. Little by little, a little becomes a lot. And so on.
But just in case, here’s another reminder: you can’t do it all at once. Especially when it comes to spring cleaning.
Don’t get us wrong, we’re impressed with your ‘let’s-just-smash-it-out’ enthusiasm on day one. But it’s much wiser to break up your spring-cleaning plan into manageable bites. Tackle one room at a time, with a little reward once you’ve conquered each one.
That way, you’re sure to stay motivated!
Step 3: Take inventory
Before you even start to clean any room, you first need to know what you’re working with.
So open the cupboards, check under the furniture and gather all your belongings into a big pile in the centre of the room. Remember, it has to look worse before it looks better.
Then, go through each item individually and place it into one of 4 boxes: ‘keep’, ‘donate’, ‘trash’ or ‘relocate’.
Once you’re left with the ‘keep’ items, you can better understand what needs to go back into the room.
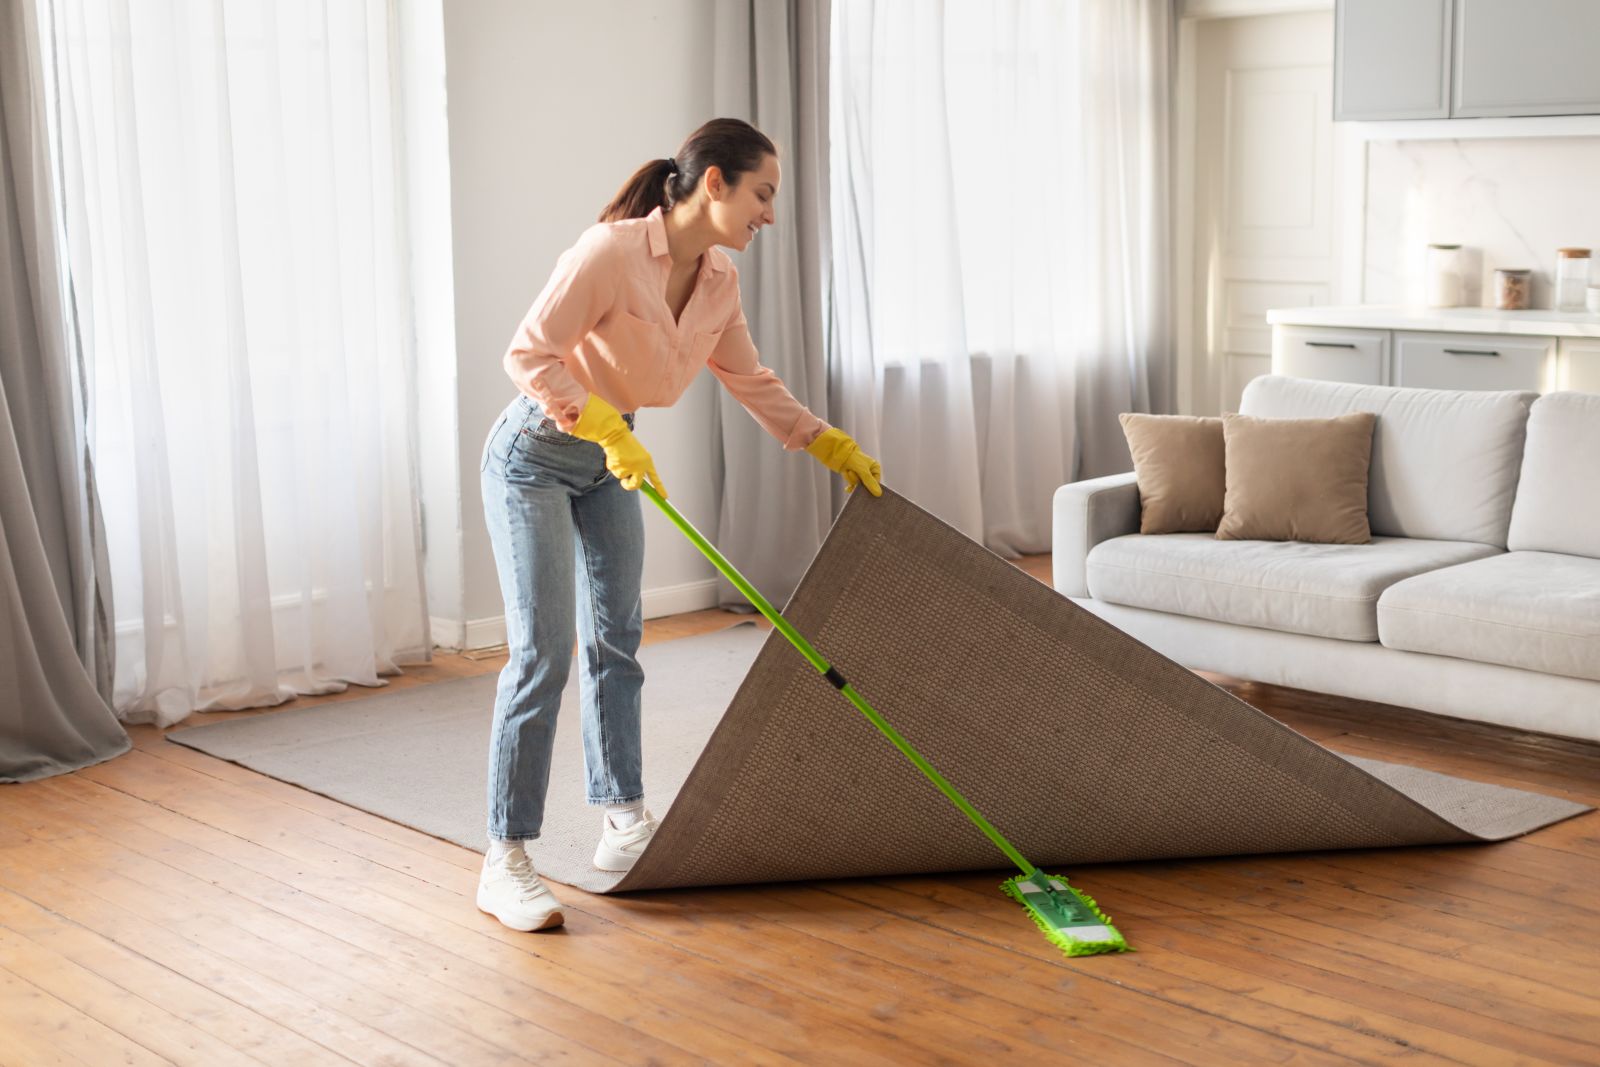
Step 4: Hit the deck
We know we don’t have to remind you to dust or wipe down the surfaces while you’re spring cleaning. But some of us do need the motivation to give the floors some TLC.
So, if you’re working with hardwood, make sure you give it a good sweep before going over it with a damp cloth and a mild cleaner.
For carpet, you’ll need to grab your vacuum to suck up all the crumbs of winter and treat any stains with a carpet cleaner. But, if you’re in the mood for a deep clean, steam and shampoo is an unexpected match made in heaven.
If you have tile flooring, you can choose your own adventure by either sweeping or vacuuming to start with. Then, go over it with a mop, warm water and mild detergent.
Spice things up with a Risky Business slide if things get boring. Why not?
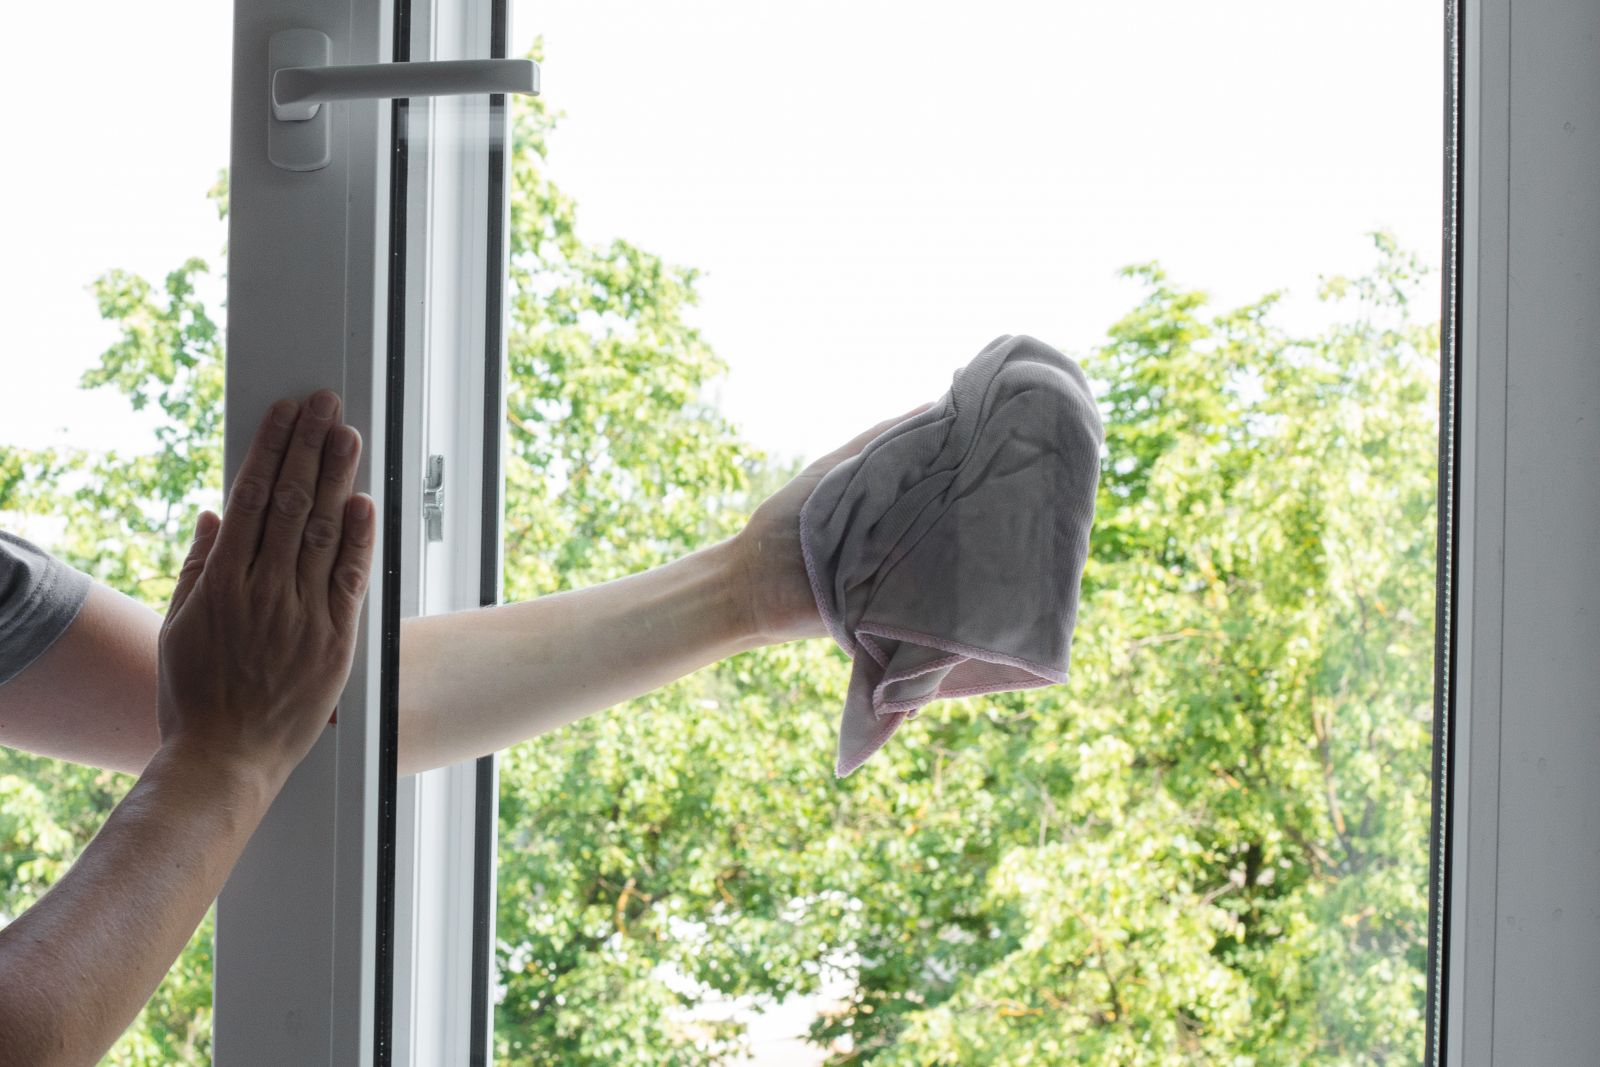
Step 5: Wipe your windows
The springtime sun will struggle to stream through your windows if a layer of grime is blocking its path.
So make sure you give your windows a thorough tending-to. (And no, it doesn’t count if you just clean it from the inside. It’s spring! Go outside, as well.)
Start by dusting off the dirt. Then, grab a glass cleaner (or a DIY mix of water and vinegar) and clean the windows with a damp cloth. For a streak-free finish, go over the glass with a squeegee like a true professional.
Step 6: Get to the grout
If you were to imagine yourself cleaning grout, we’re sure your mind’s eye wouldn’t paint the most glamorous picture.
But it doesn’t have to be as drab as it sounds.
If you create an at-home paste of baking soda and water and apply it to your grouting, it’ll do the job for you in 5-10 minutes. Then, all that will be left to do is a quick scrub with a stiff brush and a rinse with warm water.
Easy done!
Step 7: Sort out your snacks
Ah, the dreaded pantry. It’s no secret that it always presents a daunting task.
But, when you break it down, cleaning the pantry can actually be incredibly satisfying. (Plus, there are plenty of snacks available for motivation!)
So get started by removing all your items and wiping down the shelves. Bring back the 4-box method from earlier, and then restock the pantry in whatever configuration suits you best.
Step 8: Step into the great outdoors
The outside of your home is the first thing people see. So, you want a garden that glows. But not just at the front of your place. The party’s in the back, as they say.
So sweep the driveways, clear the gutters and check around the place for any damage after a typical Melbourne winter – especially on the roof.
You may want to look into a pressure washer if you find any dirt or mould build-ups. And you’ll definitely want to refresh your garden beds to ring in spring in style!

Step 9: Turn your trash into treasure
It may be tempting to put all your old and worn furniture out on the street for hard rubbish and never think about it again.
But, you could be missing out on an incredible opportunity to create your dream piece of furniture – for a fraction of the price.
So, while you’re going through your home, look for opportunities to upcycle. You’ll reduce your waste and add more personality to your home in the process.
Step 10: Check every nook and cranny
At this point of the spring clean, it’s tempting to turn a blind eye to the spots that could stay out of sight, out of mind.
Our advice? Stay the course!
You’ll feel much more accomplished and prouder of your efforts if under the fridge, behind your furniture, on top of the skirting boards and in your ceiling corners are just as sparkly as the rest of your home.

Step 11: Shop ‘til you drop!
You’ve worked hard. You’ve cleared the clutter. Your home has never looked better. So, there’s only one thing left to do…
Treat yourself!
Whether you need a new summer wardrobe, a scrape-free cookware set or even a new armchair – you’ve got the space for it now, so go for it!